On this page
What dryer vent repair involves
A dryer vent is a single path: a short transition duct from the back of the dryer, a run of duct through the wall, floor, ceiling or roof, and a cover on the outside. Dryer vent repair fixes any part of that path that is damaged, disconnected or the wrong material, and replaces sections that can't be fixed.
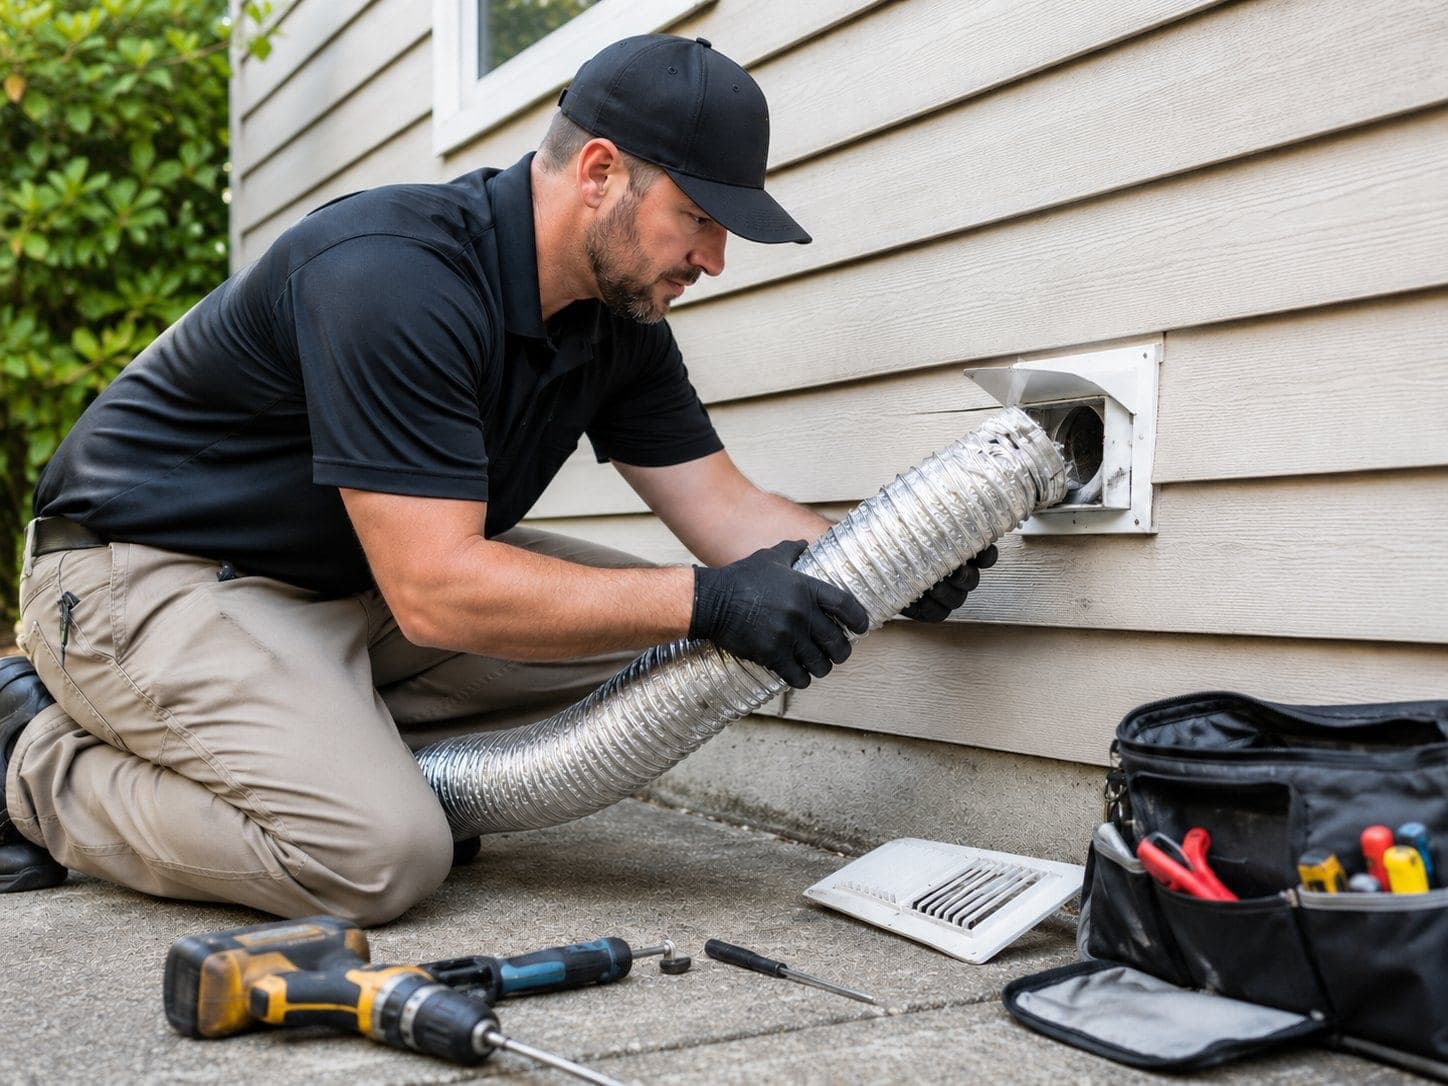
Typical repairs include reconnecting separated joints, replacing a crushed or kinked transition duct, swapping out torn foil or plastic duct for metal duct, resealing joints with foil tape instead of screws that catch lint, supporting sagging runs, and replacing a broken or stuck exterior vent cover.
If the duct is intact and simply packed with lint, the job you need is dryer vent cleaning rather than repair. If the run itself is too long, has too many bends or exits somewhere it shouldn't, moving the vent to a better route is the right fix.
Signs your dryer vent needs repair
Problems that usually point to a damaged or disconnected vent
- Clothes take two or more cycles to dry, even after the lint screen is cleaned
- The laundry room feels hot, humid or steamy while the dryer runs
- Lint is collecting on the floor or wall behind the dryer
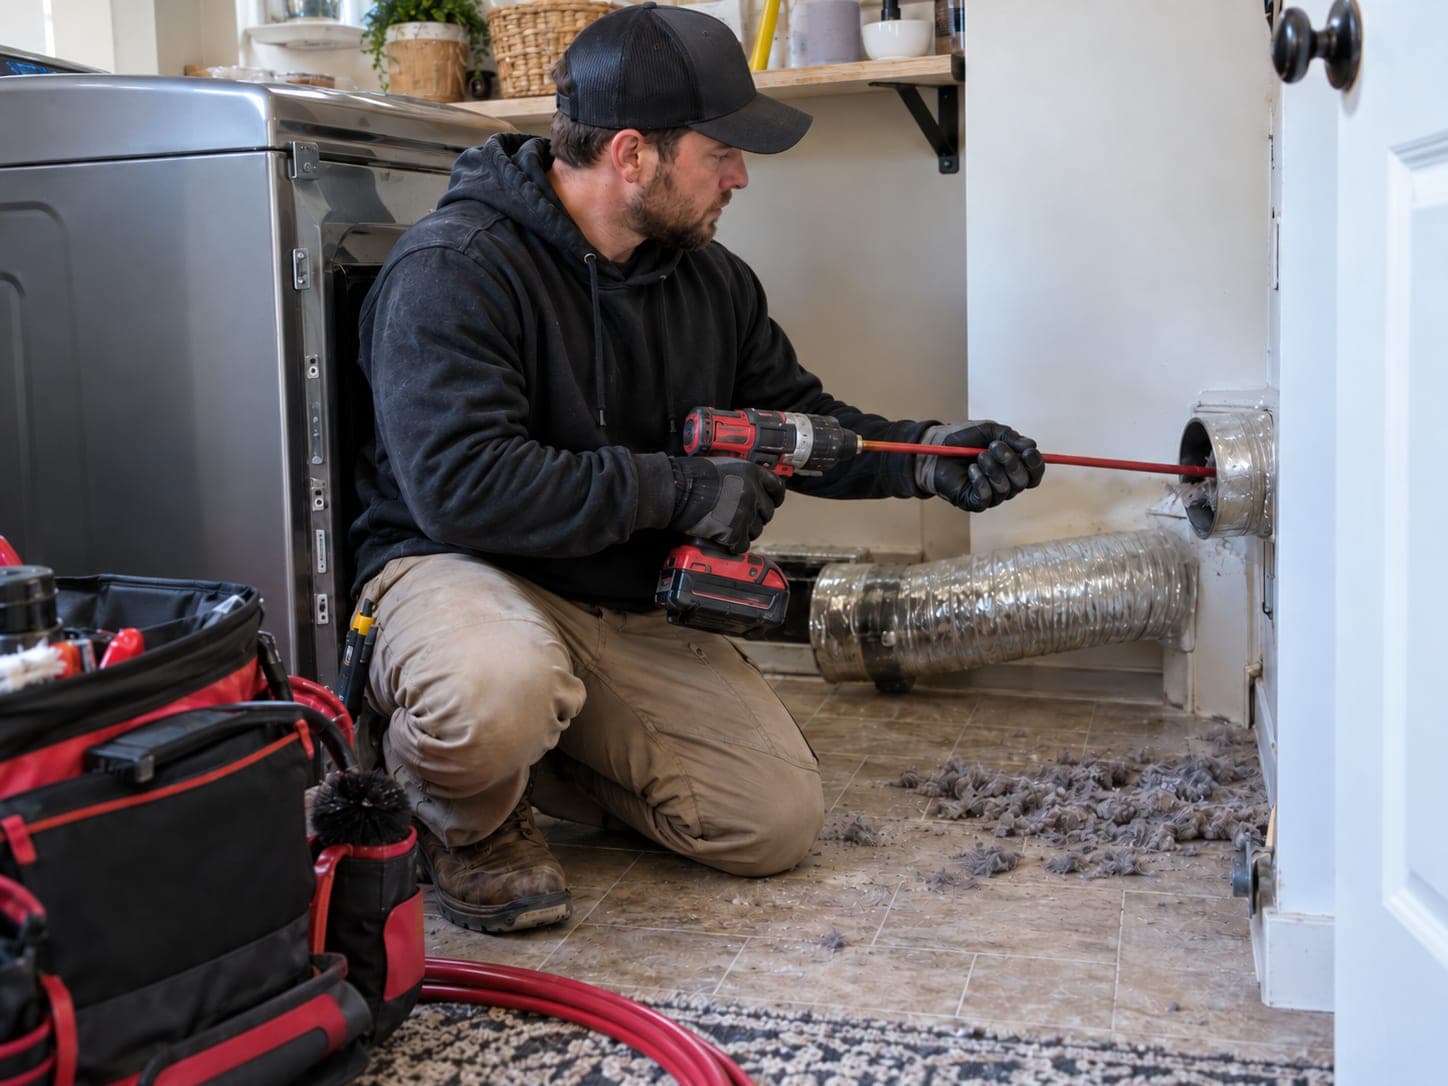
- The duct behind the dryer is flattened, kinked or pulled off its connection
- The dryer or the clothes feel unusually hot to the touch
- A burning or musty smell while the dryer runs
- The exterior flap doesn't open when the dryer runs, or stays stuck open
- Little or no air coming out of the outside vent while the dryer is on
- Visible foil or plastic duct that is torn, sagging or held together with duct tape
Several of these can also come from a clogged vent, which is why the visit starts by checking airflow and looking at the duct before anything is replaced.
What the visit involves, step by step
How a dryer vent repair visit works
Talk through the symptoms
You tell us what you've noticed: long dry times, heat, smells, lint or a damaged cover.
Check airflow and the connection
The dryer is pulled out, the transition duct and its connection are checked, and airflow is measured at the outside vent.
Inspect the accessible run
The duct is followed as far as it can be reached to find separated joints, crushed sections, unsuitable materials or blockages.
Explain what was found
You get a plain explanation of the problem and what repair or replacement it needs, with a free estimate before work goes ahead.
Repair or replace
Damaged sections, connections and the exterior cover are repaired or replaced, and joints are sealed and supported.
Test and put things back
Airflow is checked again with the dryer running, the dryer is set back in place and the area is left clean.
Duct materials and parts involved
| Feature | What it is | How it holds up |
|---|---|---|
| Rigid metal duct | Smooth-walled sheet metal pipe | Smooth inside, catches the least lint; the usual choice for the run through walls and ceilings |
| Semi-rigid metal duct | Flexible aluminum that holds its shape | Often used for the short transition behind the dryer |
| Foil accordion duct | Thin foil over a wire coil | Crushes and tears easily and traps lint in its ridges |
| Plastic or vinyl duct | White flexible plastic hose | Not suitable for dryer exhaust; it can sag, trap lint and melt |
Rigid metal duct
- What it is
- Smooth-walled sheet metal pipe
- How it holds up
- Smooth inside, catches the least lint; the usual choice for the run through walls and ceilings
Semi-rigid metal duct
- What it is
- Flexible aluminum that holds its shape
- How it holds up
- Often used for the short transition behind the dryer
Foil accordion duct
- What it is
- Thin foil over a wire coil
- How it holds up
- Crushes and tears easily and traps lint in its ridges
Plastic or vinyl duct
- What it is
- White flexible plastic hose
- How it holds up
- Not suitable for dryer exhaust; it can sag, trap lint and melt
Many dryer manufacturers call for metal duct in their installation instructions, so foil or plastic sections are usually replaced during a repair rather than reconnected.
Dryer vent cover replacement
The cover on the outside wall or roof keeps out rain, birds and rodents while letting exhaust out. When flaps crack, stick shut, break off or the housing pulls away from the wall, dryer vent cover replacement restores that seal and the free flow of air.
- Flaps that no longer close let cold air, water and pests into the duct
- Flaps stuck shut or painted over hold lint and moisture inside the vent
- A loose or cracked housing can let water run behind the siding
- Screens over a dryer outlet can catch lint and block airflow, so a cover designed for dryer exhaust is used instead
Safety and upkeep after a repair
Why a damaged vent matters
Lint is highly flammable, and a crushed or disconnected duct lets it build up where the dryer's heat can reach it. With a gas dryer, a disconnected or blocked vent can also push combustion gases, including carbon monoxide, back into the house.
- Clean the lint screen before every load
- Keep at least a few inches of space behind the dryer so the transition duct isn't crushed when the dryer is pushed back
- Check that the outside flap opens when the dryer runs and closes when it stops
- Have a working carbon monoxide alarm in the home, especially with a gas dryer
- Schedule routine lint removal from the vent so the repaired duct stays clear
Book a dryer vent repair
Call or request an estimate and describe what you're seeing with the dryer or the outside cover.
Commercial and property-manager work is offered, so multi-unit buildings and rentals can be scheduled as well. If the inspection shows the vent needs a new path rather than new parts, we can explain how dryer vent rerouting and relocation works before you decide.
Related work covered on this page
- Dryer Vent Cover Replacement